
Updated for 2026: This guide was originally published in 2024 and has been reviewed and refreshed for 2026 to reflect the latest WordPress core rollback and downgrade techniques. While the core reasons for reverting a WordPress version — such as compatibility issues after an update — remain the same, recent guidance on safe downgrade workflows and rollback tools makes this updated review accurate for today’s WordPress maintenance practices.
It’s always best practice to run the very latest publicly released version of the WordPress core software on your website. However there are times when a new version of WordPress is not compatible with a plugin or theme you may have installed, and upgrading to the latest version of WordPress could cause errors on your site.
The remedy here is of course to fix the issue with the plugin or theme so that it is compatible with the latest version of WordPress. However, the ability to address those issues may be out of your control. You may have to wait for several developers to fix several problems, or you may even have to find an alternative plugin or theme if the ones you are using are no longer supported.
This article is for those of you who may have just updated WordPress on your main website or staging site, have encountered an error, and need to revert WordPress to the previous version where everything was working as expected.
It should be noted that downgrading your WordPress version should only be used as a temporary measure to give you more time to fix any theme or plugin errors. It is not a permanent solution.
There are two ways to downgrade the WordPress version. By using a plugin, or manually on your server.
I’ll cover both approaches below, but first I want to talk about the issue of automatic WordPress Updates…
How to deactivate automatic WordPress updates
Automatic updates can be fine for simple sites that use very few plugins. The larger and more complex your site, the more problematic automatic WordPress updates can be, especially if you have not upgraded or tested theme and plugin updates. If you run a large, complex WordPress site, I always recommend turning off automatic updates so you can manually take charge of when this update happens.
If your site is hosted by a managed WordPress hosting provider, they may have this feature available in your dashboard. My first recommendation would be to log in to your hosting provider’s dashboard, look for this setting and turn it off. It may be called something different. For example within WP Engine’s dashboard this feature is called “defer”, and it only lets you delay the automatic update by 30 days from the release of the new WordPress version. Depending on your update schedule and/or your ability to fix errors in a timely manner, this may or may not be useful for you.
The only surefire way to stop automatic updates is to add a line of code to the “wp-config.php” file on your server. If you are not comfortable editing code, you may want to hire a WordPress developer to do this for you.
To stop automatic updates, add this line of code to the “wp-config.php” file on your server:
define( 'AUTOMATIC_UPDATER_DISABLED', true );
With that setting in place, you can now move on to downgrading WordPress.
Option 1: Downgrade your WordPress version using a plugin
It is possible to use the Jetpack plugin to simply downgrade your version of WordPress. But if you are not a current user of this plugin and do not use it to keep you site backed-up, this option won’t work for you. You’ll have to refer to the manual option I have outlined later on in this article. There is another plugin available called WP Downgrade but it has not been updated in the last 3 years, so has not been tested with any of the latest major WordPress version updates. Since Jetpack is constantly kept up to date, it’s the safer option.
Here’s how to downgrade your WordPress version if you already use the JetPack plugin for backing up your site:
- Log in to your WordPress.com account
- Go to Jetpack > Activity Log
- Search for the day or activity that you would like to restore to and click Restore
- You will now be presented with some options of what you would like to restore. You will only need to restore your “WordPress root”. Click Confirm restore.
- The restore process will now begin.
- Once the restoration is complete, it will display a confirmation message.
- Now login to your WordPress website. If you are asked to Upgrade your database, you can proceed with that.
Option 2: Manually downgrade your WordPress version
Below I have provided a detailed step-by-step guide on how to manually downgrade the version of WordPress installed on your site. Just be aware that if you need to do this whole downgrade process on your main website, it will definitely interrupt the experience for any of your website visitors while you are going through the downgrade process.
If you are not familiar with editing code and connecting to your server via FTP, you may want to consider hiring a WordPress developer to take care of this for you.
- Backup your WordPress site
- Deactivate all plugins
- Activate a default WordPress theme
- Download an older version of WordPress
- Edit the WordPress files
- Upload & replace the WordPress files on your server
- Login to your WordPress site
- Reactivate your theme and plugins
1. Backup your WordPress Site
As I always recommend, before taking any action on your WordPress site, it’s always best practice to create a full backup of your site. This can be useful if something goes wrong in any part of your downgrade process, you can then revert the site back to this backup.
If you haven’t done this before, you can follow my guide here on how to back up your WordPress site.
2. Deactivate all plugins
Another best practice is to deactivate all of your activated plugins. This will help avoid any conflicts or errors from occurring during the downgrade process.
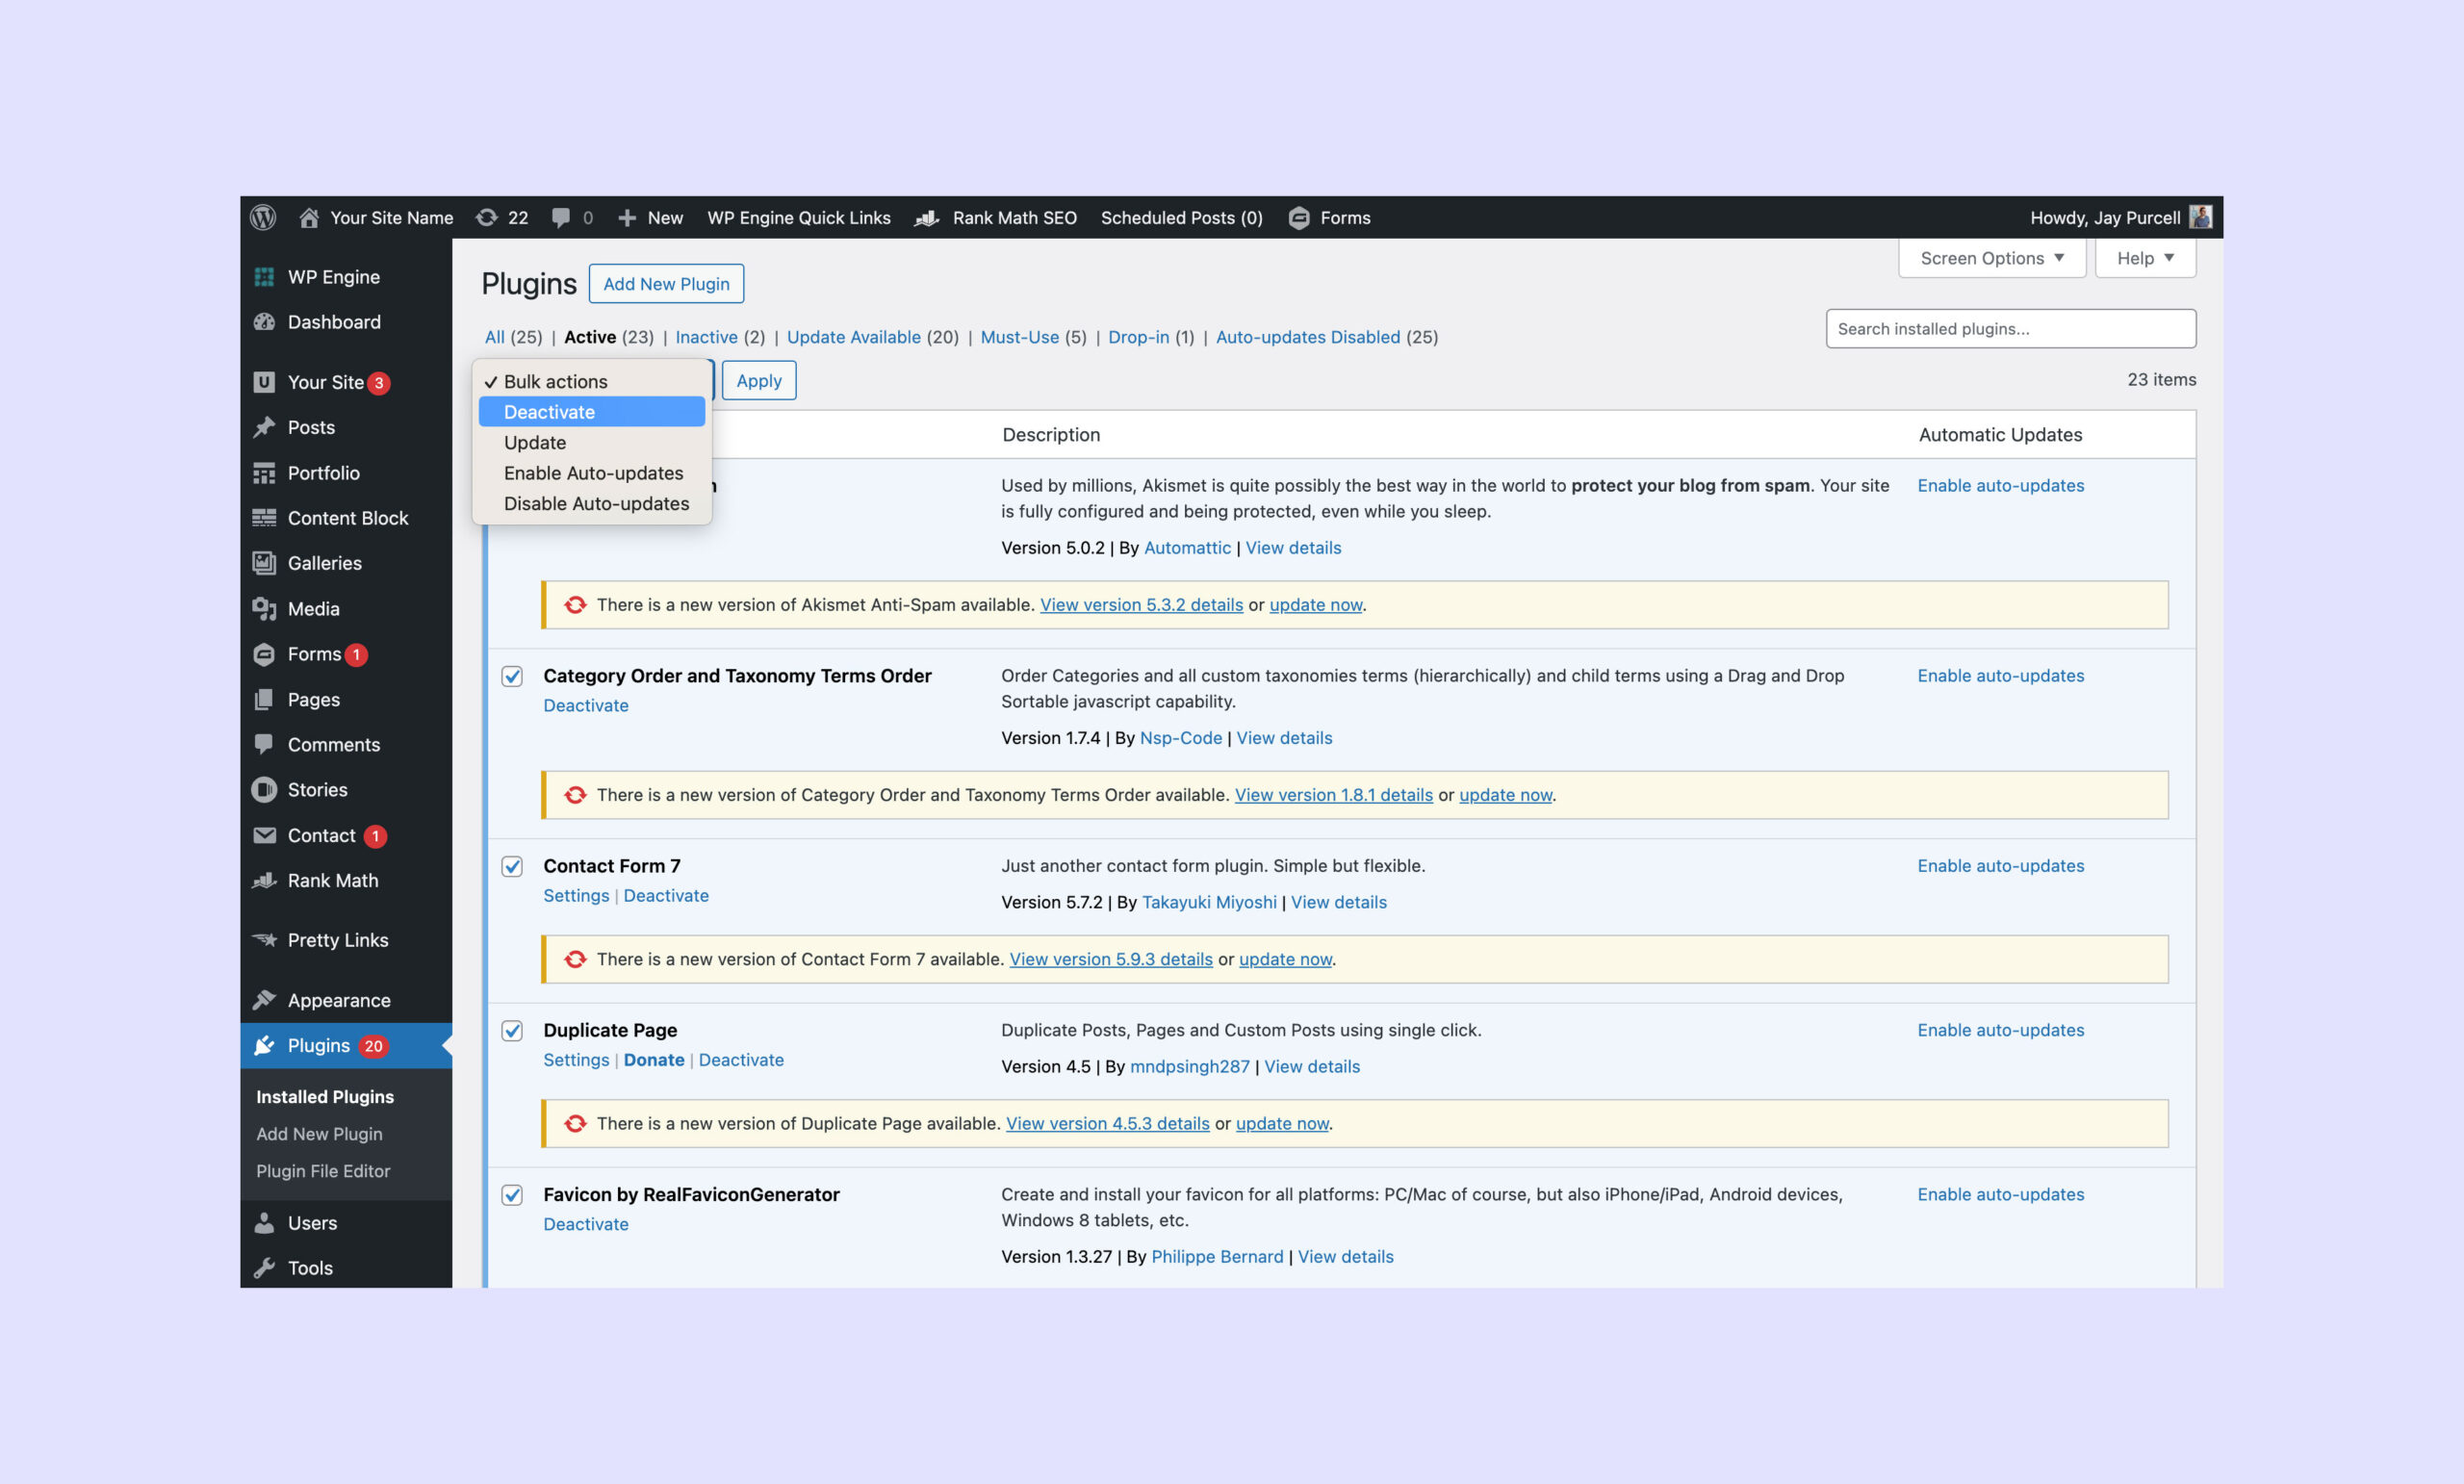
You can deactivate all plugins in bulk by going to the Plugins page in your WordPress admin, selecting all plugins, choosing “Deactivate” and click “Apply”.
If for some reason you cannot access your WordPress admin dashboard and the plugins page, you can also deactivate all plugins by logging on to your server via FTP and simply renaming in the “plugins” directory under wp-content > plugins to something like “plugins-deactivated”.
3. Activate a default WordPress theme
To avoid potential errors you should also deactivate your current theme and activate a default WordPress theme such as Twenty Twenty-Three.
If you do not have a default WordPress theme version available on your site, you can download one from the WordPress theme library and then upload the file that you downloaded via the Appearance > Themes page in your WordPress admin.
4. Download an older version of WordPress
You can now download an older version of WordPress by visiting the official WordPress version release page here. Just make sure to download the version of WordPress that was previously working for you. If in doubt, you can select the WordPress version prior to the currently released version.
5. Edit the WordPress files
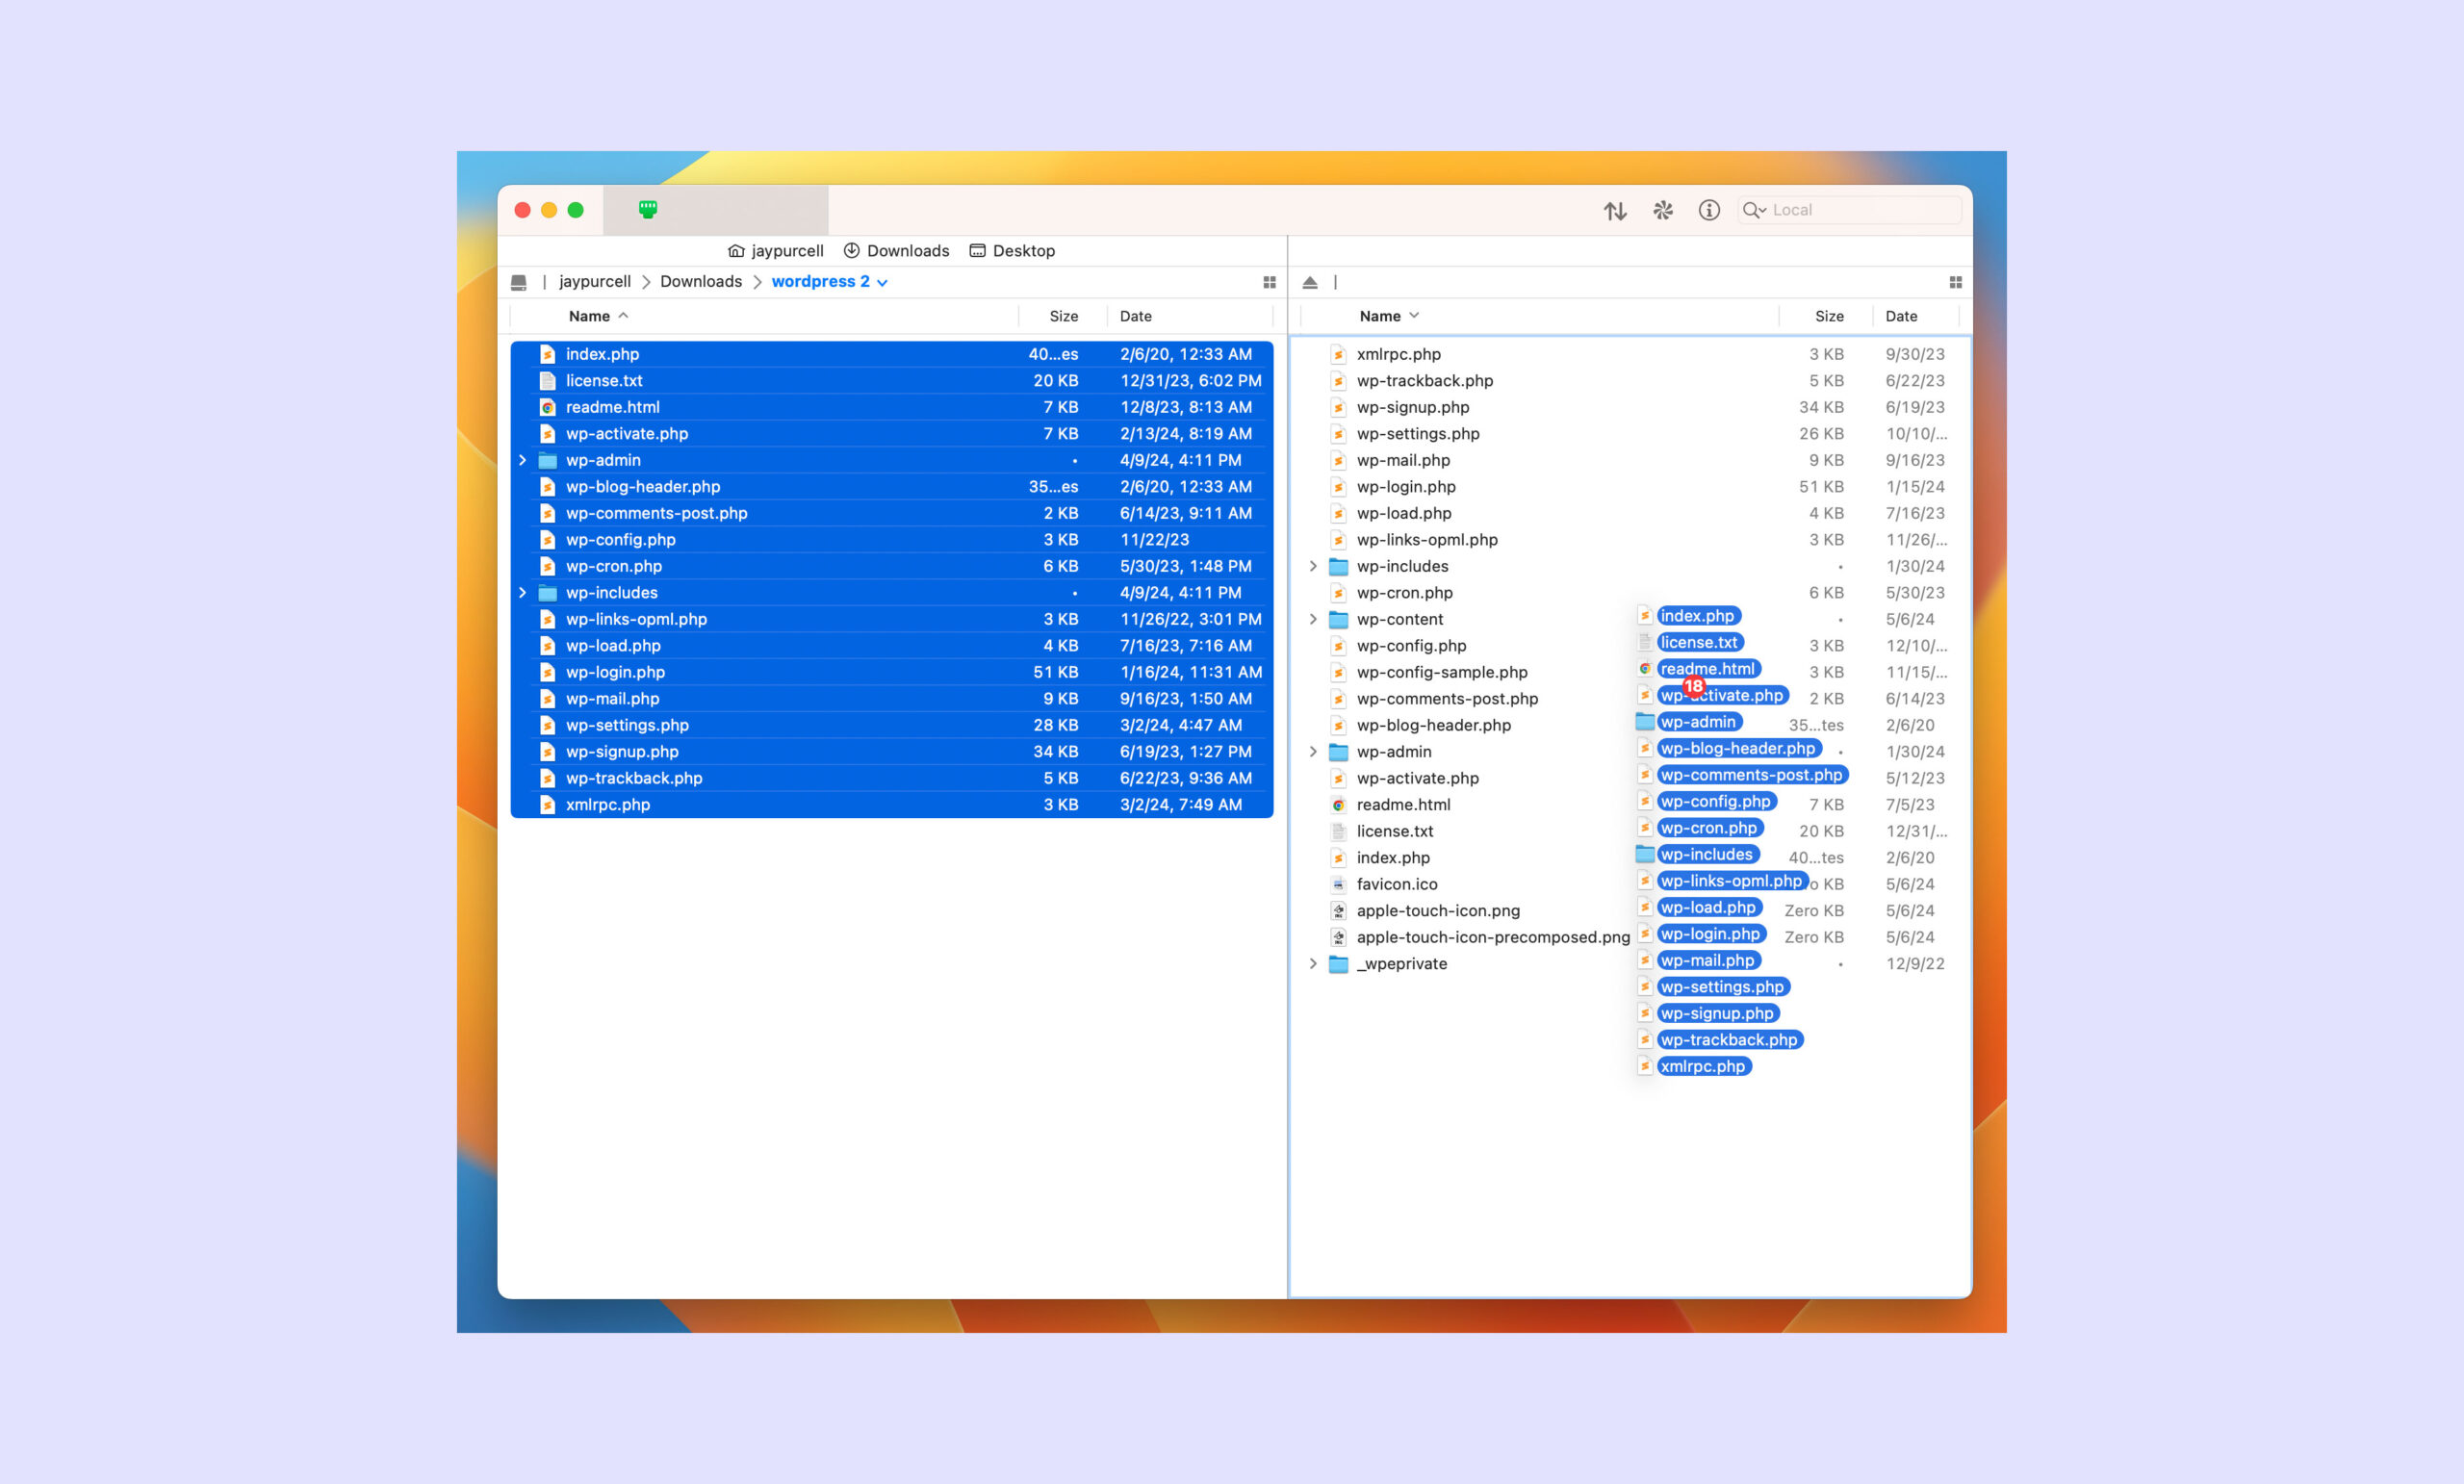
If you haven’t done so already, unzip the WordPress version you downloaded in the previous step.
Once unzipped you’ll be able to view the folder containing the WordPress core files.
Inside the root of this folder, locate the file called “wp-config-sample.php” and rename this file to “wp-config.php”.
Now open wp-config.php in a code editor of your choice. If you don’t have a code editor installed on your computer you can use Notepad on a PC or textEdit on a mac to view this file. These text editors are installed on your computer by default.
Once you have the wp-config.php file open in a code or text editor, locate the following lines of code. You can then input the database details for your site here and save the file. If you don’t know what these database details are, you can login to the dashboard of your hosting provider to locate this information.
/** Database username */
define( 'DB_USER', 'username_here' );

/** Database password */
define( 'DB_PASSWORD', 'password_here' );

/** Database hostname */
define( 'DB_HOST', 'localhost' );
Finally, locate the folder called “wp-content” and delete the folder. This is the folder where all of your media files, plugins and themes are saved, so you will want to keep the existing version of this folder that is on your server.
6. Upload & replace the WordPress files on your server
For this step you will need to connect to your web server via FTP. To do this, you can use a software client such as Transmit. If you do not know the credentials for connecting to your web server, you can obtain these by logging into your hosting provider’s dashboard.
Once you are connected to the web server via FTP, you can now upload all of the WordPress core files that you just downloaded and edited.
In your FTP software, navigate to the folder where you saved these files. Select them all and drag them into the window that is displaying your web server files. Making sure to double check that you are not copying over the wp-content folder (hopefully you already deleted that from the files on your computer).
Your FTP software may now show a prompt asking if you want to overwrite these files, go ahead and make sure to select the option to overwrite the files. Now you can sit back and wait until the upload completes.
7. Login to your WordPress site
Now you can navigate to the WordPress login page on your website.
After you have logged in you may be shown a prompt to update the database. Go ahead and select the option to update the database.
8. Reactivate your theme and plugins
Now that you are logged in to your WordPress site you can navigate to the Appearance > Themes page and reactivate your WordPress theme.
Next, go to the Plugins page and reactivate all your plugins. If you are unsure what these were you can click on the link near the top of the page that says “Recently Active Plugins”.
If you manually deactivated the plugins via FTP, this is when you will want to rename the plugins directory folder to “Plugins” (e.g. wp-content/plugins).
Summary
I hope this guide has given you some actionable advice on how to downgrade your WordPress version.
As previously mentioned, this should only be a temporary measure that provides you with a bit more time to address any theme or plugin issues that are not compatible with the latest version of WordPress. Once you have addressed those issues, you can then upgrade to the latest version of WordPress by navigating to the Updates page in your WordPress admin.
Leave a Reply